
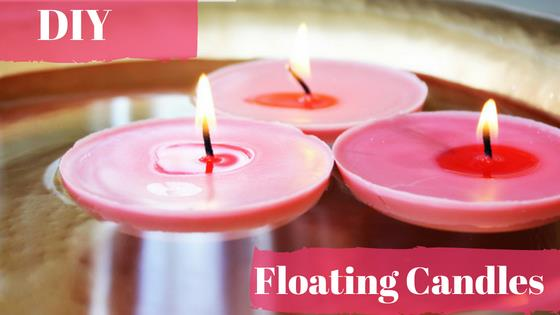
Craft Your Own Floating Candles at Home in 5 Easy Steps !

Floating candles appear to be small décor items but they will surely bring a radical change in your living spaces when you incorporate them with water. They make the best additions to artificial Ponds, pools, dinner tables and bathtubs on any occasion while adding bliss to the entire space.
Floating candles are easy to make at home, you can make them for giving a personal touch to the décor of your home, wedding or parties, you can also make them for your loved ones. They can be made in any color with any fragrance. If you are a DIY enthusiast and love making decorative accessories then this discussion is a must read for you.
Things That You Need:
- Paraffin Wax
- Silicone Mould for floating candles
- Essential Oil / Fragrance Oils
- Candle Dye Chips
- Wicks
- Cooking spray or Vaseline
STEP 1
You have to melt the wax using a double boiler, take a large pot and add water to it, place a small can or tin on the water and let the water heat up to 185 degrees. Add wax to the tin and let it melt slowly, keep stirring. Don’t boil candle wax in direct heat as it prone to catch fire.
STEP 2
Add candle dye chips while the wax is heating. You can choose any color of your choice and add a pleasant color to your homemade candles. One dye chip is more than enough for one pound of wax, use a wooden spoon for stirring and maintaining the consistency. Essential oils or fragrance oils are easily available at every home and should be added for an aromatic experience, into the pot as soon as possible after turning off the burner.
STEP 3
Paraffin wax needs to be at 150 Degree Fahrenheit for being ready to be poured. If you have a thermometer, you can use that for measuring the temperature. Just in case if you don’t have a thermometer, wait till a thin film forms on the edges of the tin.
STEP 4
Take your molds and coat it with cooking spray or petroleum jelly to minimize the resistance while taking the candles out. Gently pour the wax in each section, make sure that the wax is evenly poured. Let the wax settle down for some time and then slowly add tabbed wicks, use a toothpick for fixing the wick if it falls.
STEP 5
Let the candles harden, it will take around two to three hours for the wax to settle down properly. Once the candles have settled, gently take out them from the mold. You can place them in the fridge 5-10 minutes before taking out the candles.
You’re all set to create centerpieces using your own creation, just take clear glass bowls, add some water, throw in some flower petals and top them off with a couple of floating candles.
Just in case you’re a couch potato and would rather buy a floating candle, then you should browse through Lighthaus Candles, showcasing a wide range of premium scented floating candles.